


Network Rack Phase 3
After putting my server rack in the “back burner” for a long time. I thought it was time to revisit the rack and continue where I left off. I had lost interest for a time and had gotten busy with other projects and life itself. What kicked it off was this past week, I noticed my wireless router was acting up. The wired connections worked but no the wireless. I set the wireless router to default factory settings and used a back up of the configuration settings. Still did not help. Even though I was 3 feet away from the wireless router it showed as I was getting 1 bar on the 2.4GHz and both 5GHZ channels were not even showing up. I replaced the unit with a ASUSAX3000 WiFi 6 wireless router. This unit is using the latest wireless version of Wireless AX which is an upgrade from wireless AC. I am a bit skeptical of the new WiFi6 standard. So far it has impressed me and my gaming PC now gets full reception compared to before.

ASUS AX3000 Front

ASUS AX3000 Back

ASUS AX3000 Side

ASUS AX3000 Side

ASUS AX3000 Side View

ASUS AX3000 Front View
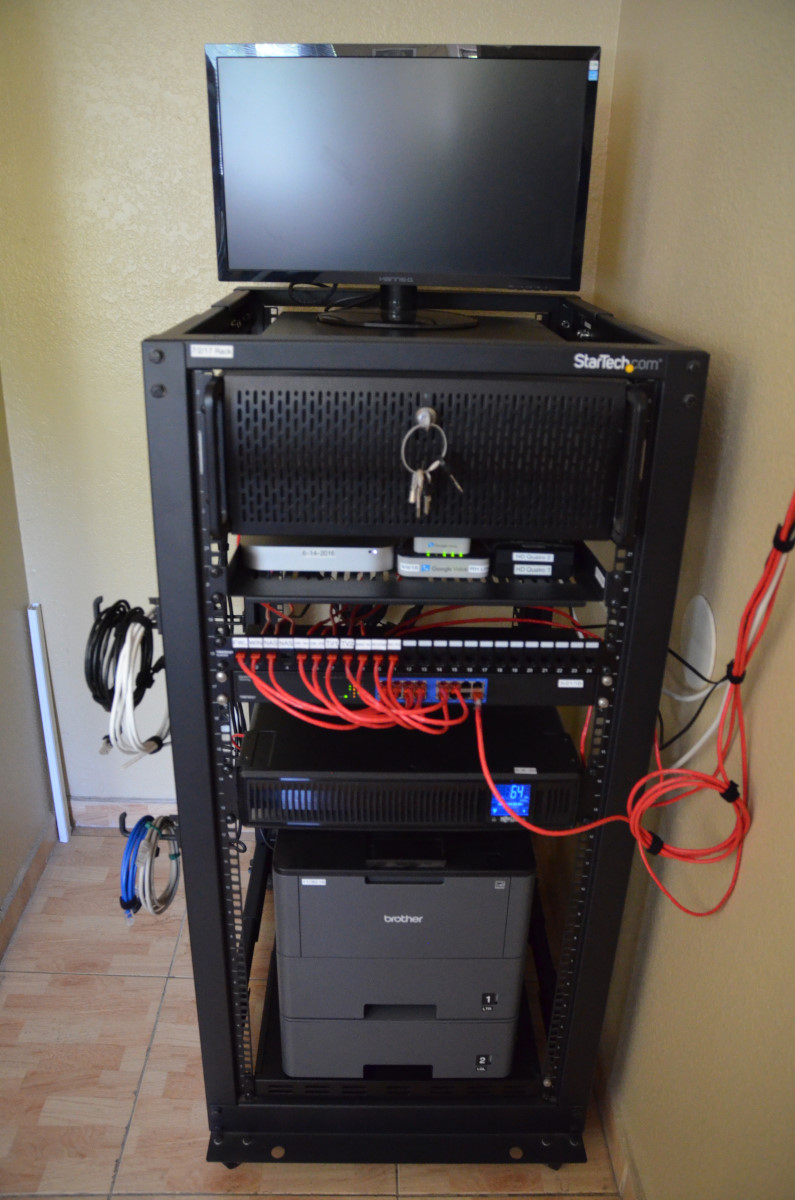
After setting up the new wireless router. My other parts that I ordered came in. I had ordered a 24port Keystone Patch Panel, 25pk Cat6 keystones, and a 1u shelf. First I had to clean the entire rack and dust it off. Then I started to cut and terminate cat5e 1foot patch cables. Then I had to cut to size many more cables that went to the other devices on the network rack and in the room. I wanted to route all of my devices in the room to the rack. I estimate I would have extra free network ports on the back of the wireless router I could use for PC Troubleshooting on my desk. Before connecting the network cables. I started to relocate the rack equipment for now and what to plan for in the future. I plan on purchasing a 3D printer. I saw that I could print out a 1U shelf to rack my Cable modem onto the rack. Additionally printing a 2U rack for multiple Raspberry Pis to be powered via a new POE+ network switch. Here are the updated pictures of the rack currently. On the back side I attached a 1U shelf to install a 4port HDMI KVM switch. I connected the KVM to the Truenas and MacMini. Just need to get a keyboard and mouse for the KVM.

Phase 3 completed

Windows Server, Google Voice, Network TV Tuners

Patch Panel completed and labeled

Future Plans

2U space for future projects

Network Laserprinter

Behind the patch panel

KVM installed